Stake CRO
Here is a step-by-step guide to CRO staking.
#1. Get wallet app
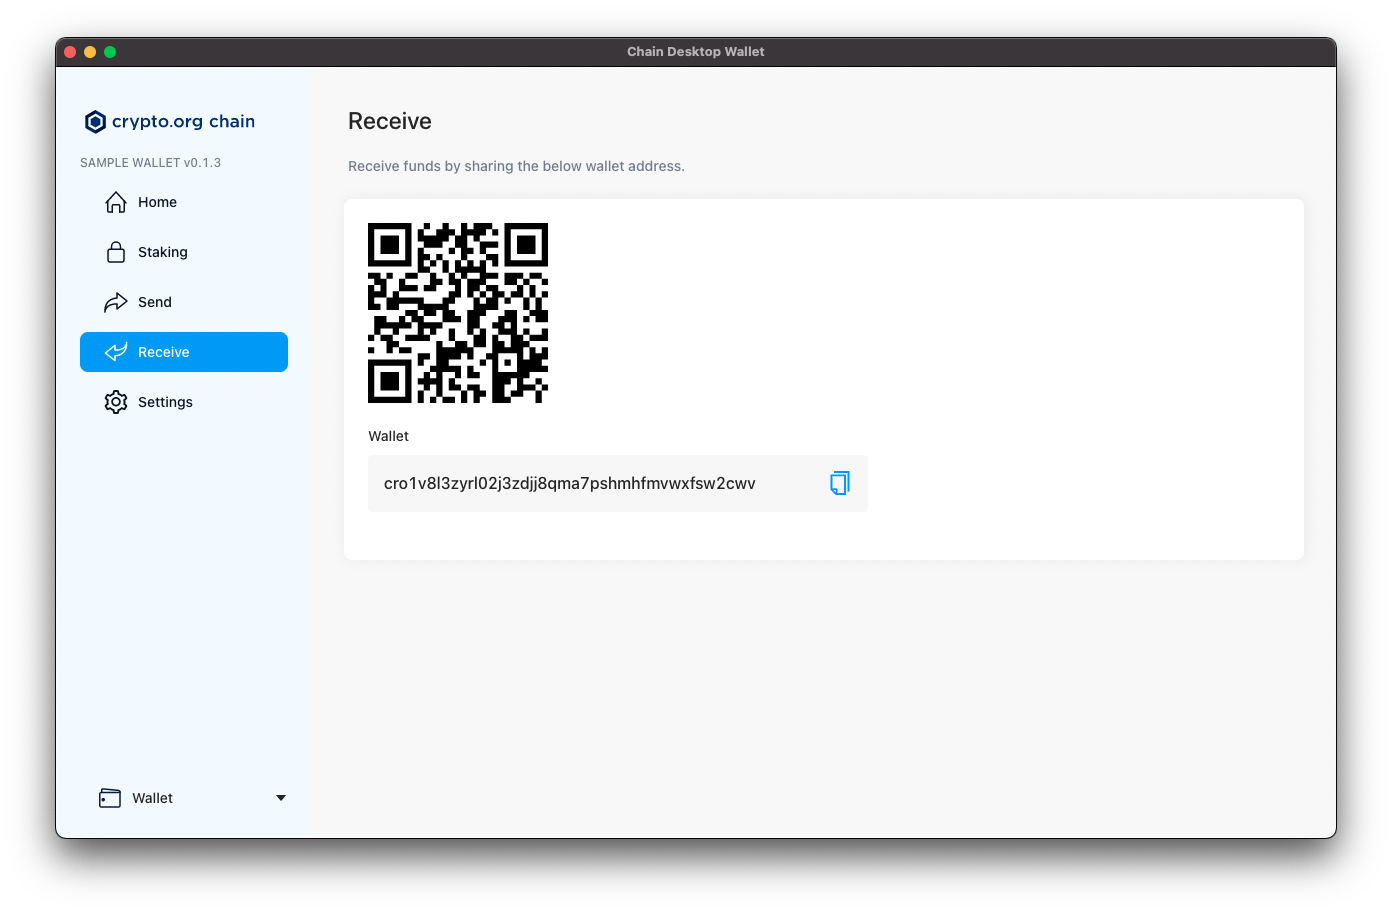
Before staking you will need to transfer your CRO to a wallet that you own and control.
You can read more about these wallet apps here.
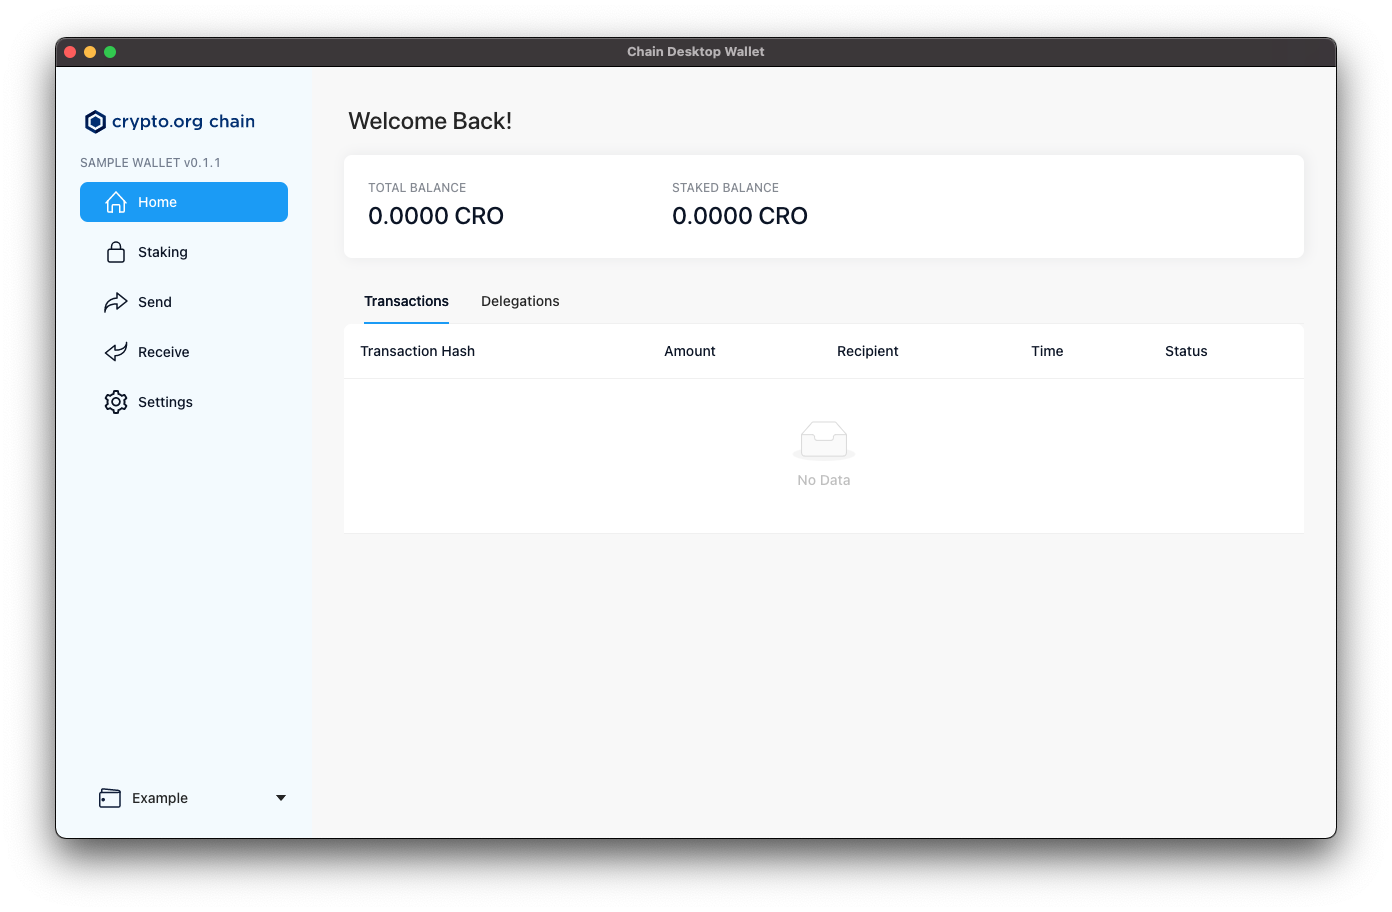
#2. Create wallet
Press the "Get started" button, choose your app password and press the "Create App Password" button. Select "Create wallet" or "Restore wallet" and follow further wallet instructions.
It's of paramount importance that you safely backup your private keys. Nothing can be done anymore if these are lost.
#4. Delegate funds
Select the "Staking" section on the left side and than switch to "Delegate Funds" tab from the top.
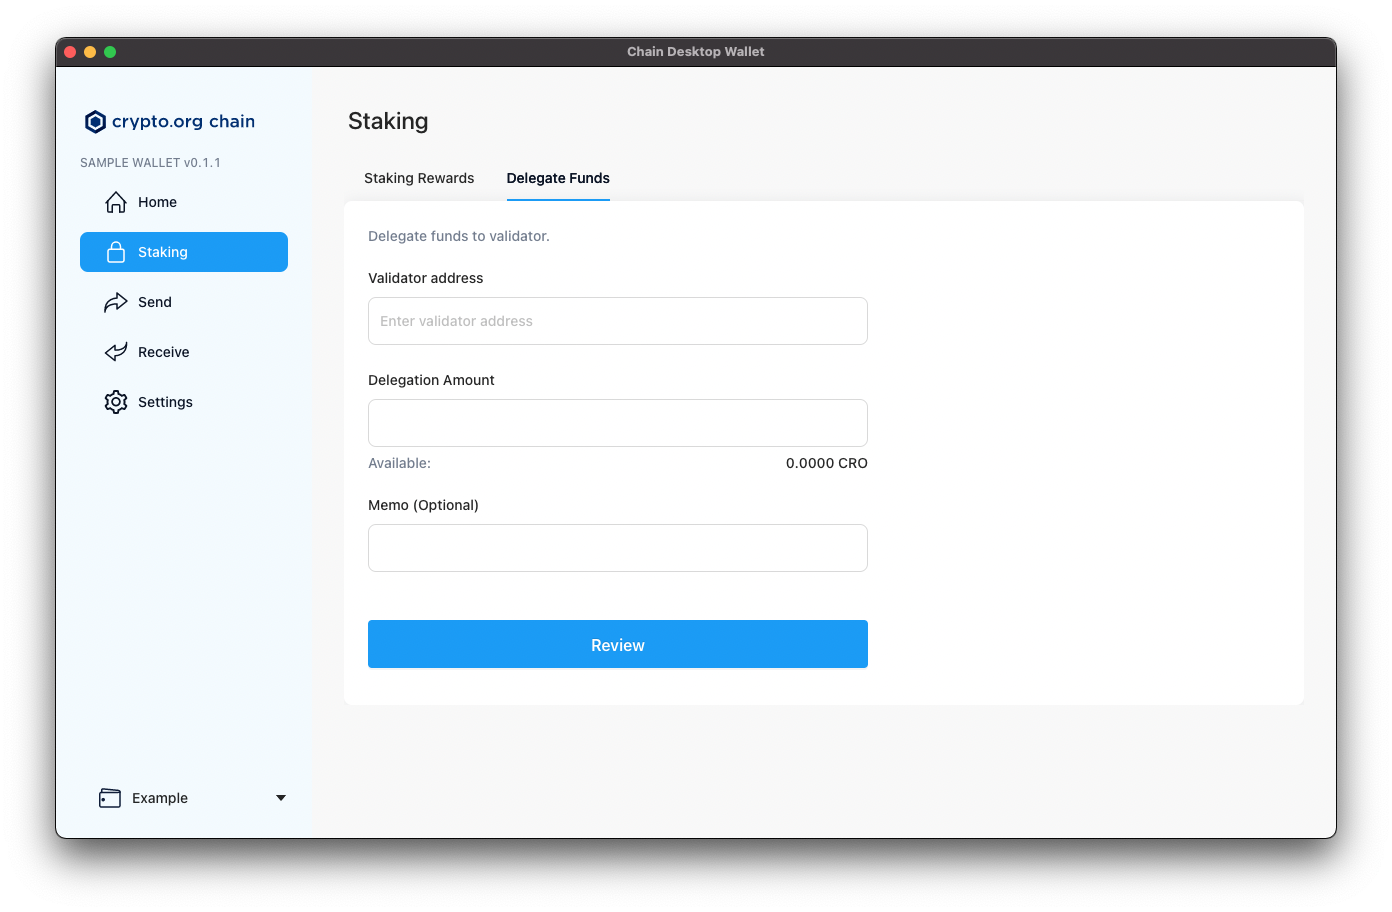
- Paste our validator address
crocncl1v8l3zyrl02j3zdjj8qma7pshmhfmvwxfnrf3vs, select amount that you want to delegate, and press the "Review" button. - Type your app password, press the "Decrypt wallet" button and press the "Continue" button.
- Press the "Confirm" button and wait while processing.
Do not delegate all amount, it's important to keep a small amount of funds for further transactions – 0.1 CRO will be enough.
#5. Claim rewards
Rewards are being generated and distributed every block (every 5-6 second). Therefore, the reward will be ready for you for every block being generated.
Select the "Staking" section on the left side and than switch to "Staking Rewards" tab from the top.
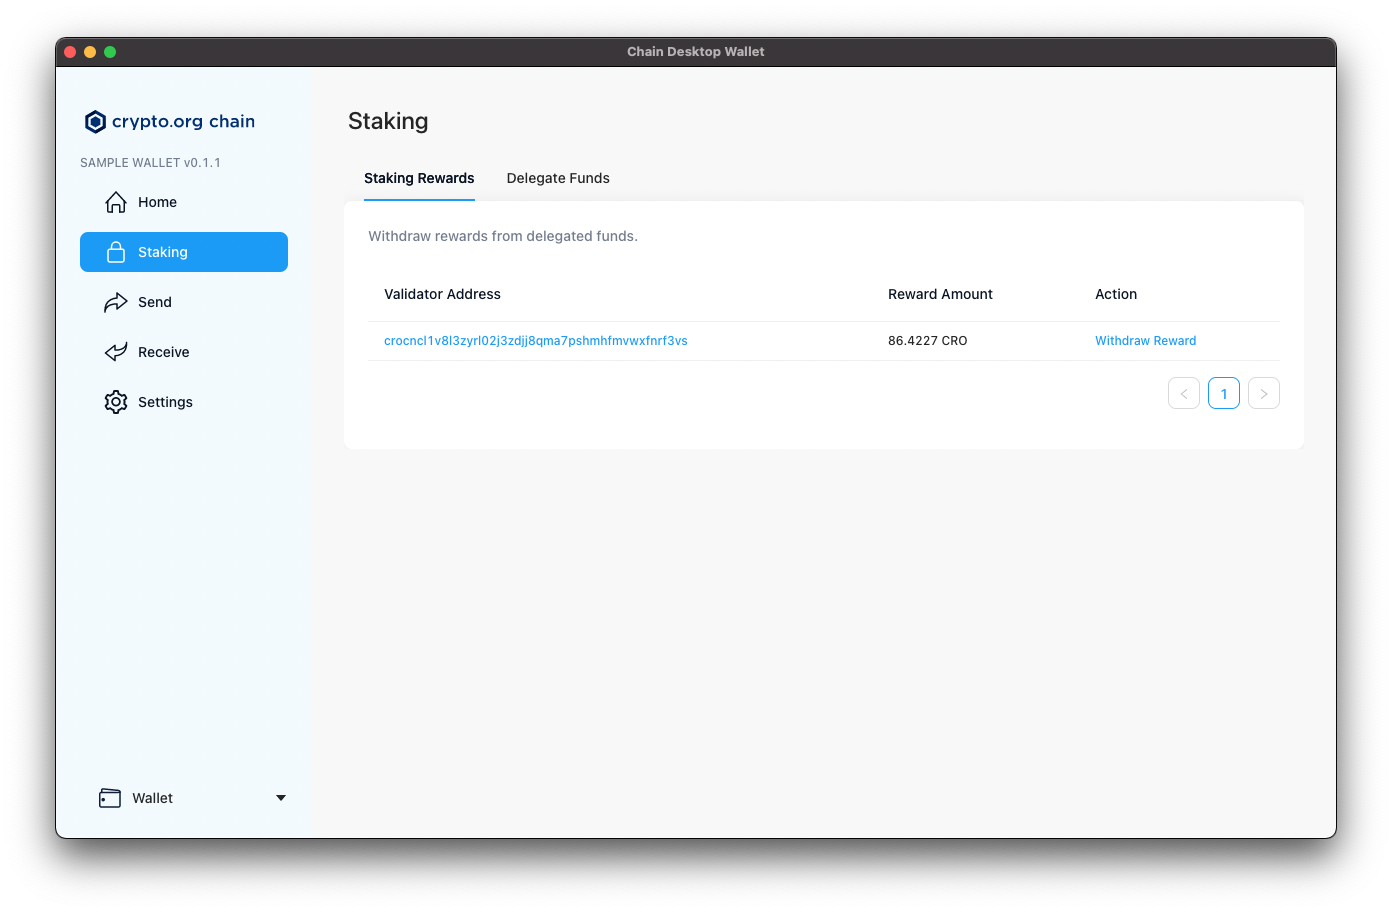
- Press at "Withdraw Reward" action on the right column.
- Type your app password, press the "Decrypt wallet" button, and press the "Continue" button.
- Press the "Confirm" button and wait while processing.